This is a quick post about installing Oracle Linux 7 on VirtualBox VM.
We would start by installing Oracle Linux 7 using a Oracle VM Virtual Box:-
First of all download Oracle VM Virtual BOX (comment below if you aren’t able to download a copy) compatible to your operating system.
For instance in my env. the OS is windows 7 (Host Operating System) and we are first going to create a new Virtual Machine with Oracle Linux 7 Operating System (Guest Operating System).
Once Oracle VM Virtual Box is downloaded and installed (comment below if you have any issues with this), Open VirtualBox and it would be something like:-
Above Slide show will guide you to create a VM in Virtual Box. Once you have created the VM and chosen the Machine Settings as per the Slides above, follow the below steps to Install OEL7.
Step 1:- I have given the base settings for the VM as in the General, System, Display, Storage, Audio, Network, USB, etc. Choose as per your requirement. And then hit Start to boot the ISO.

Step 2:- The ISO of OEL 7 is booted, then choose the “Install Oracle Linux 7” option and press “enter” key.

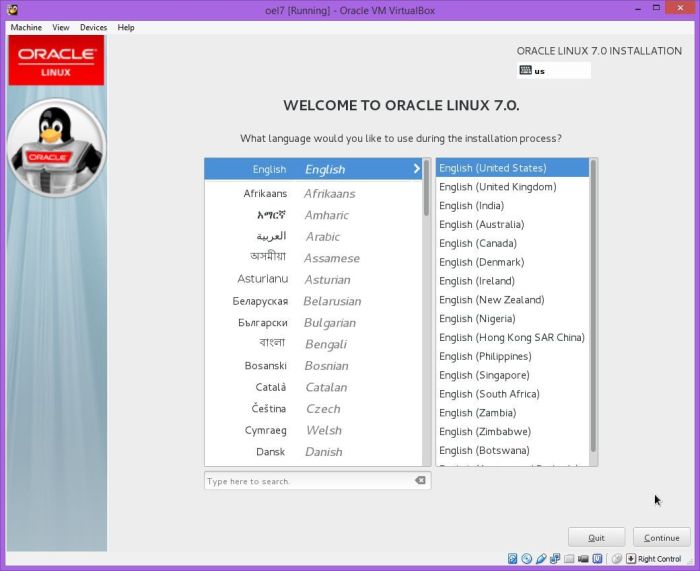
Step 3:- Then Select your language and clink “Continue” button.
Step 4:- You should see “INSTALLATION SUMMARY” screen. Here you different options to configure, for e.g, date and time, keyboard, language support,installation source, software selection, installation destination, network and hostname.
First we would choose “SOFTWARE SELECTION” to select extra software for this installation

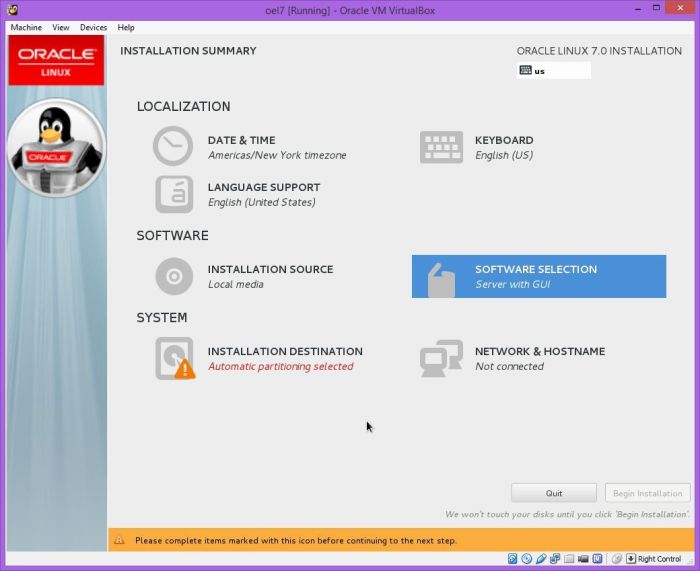
Step 5:- On “SOFTWARE SELECTION” screen select “Server with GUI” for your “Base Environment”. Then select extra software you want to install by selecting it in “Add-Ons for Selected Environment”.
For Oracle software installation and general development on Oracle Linux 7 please choose the below option and When you are ready click “Done” button.
File and Storage Server
Java Platform
Large Systems Performance
Network File System Client
Performance Tools
Compatibility Libraries
Development Tools

Step 6:- Once you are through with software selection you are back on “INSTALLATION SUMMARY” screen” so click “NETWORK CONFIGURATION” to setup network.

Step 7:- Enter Hostname and set “ON” switch for Ethernet card then click “Configure” button to set details for network card.

Step 8:- In first tab “General” check checkbox “Automatically connect to this network when it is available” to activate this network card automatically after reboot. On tab “IPv4 Settings” and “IPv6 Settings” you can assign static ip address for your network card or just use default “Automatic (DHCP)”. Once through with the network configuration click “Save..” button to save your configuration then click “Done” button.

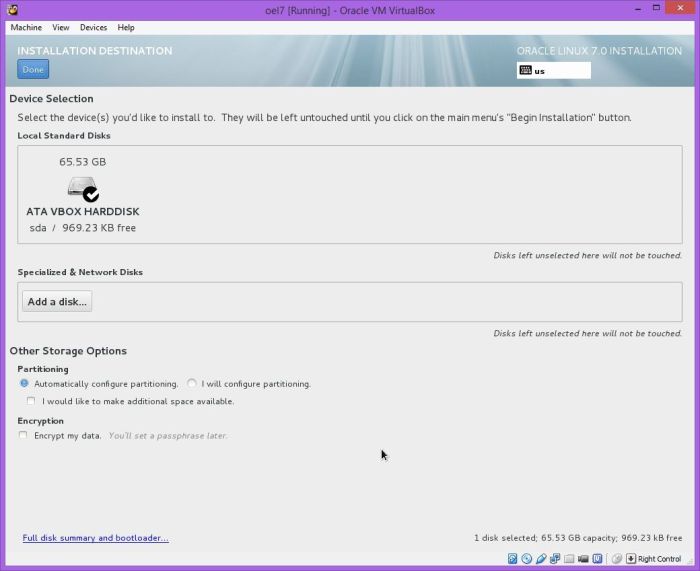
Step 9:- Again you are back on “INSTALLATION SUMMARY” screen” so click “INSTALLATION DESTINATION” to configure storage.

Step 10:- Select your disk to install Oracle. You can change partitioning here. When you are happy click “Done”.
Step 11:- Once through with all the options on the installation summary page, Click “Begin installation” button.
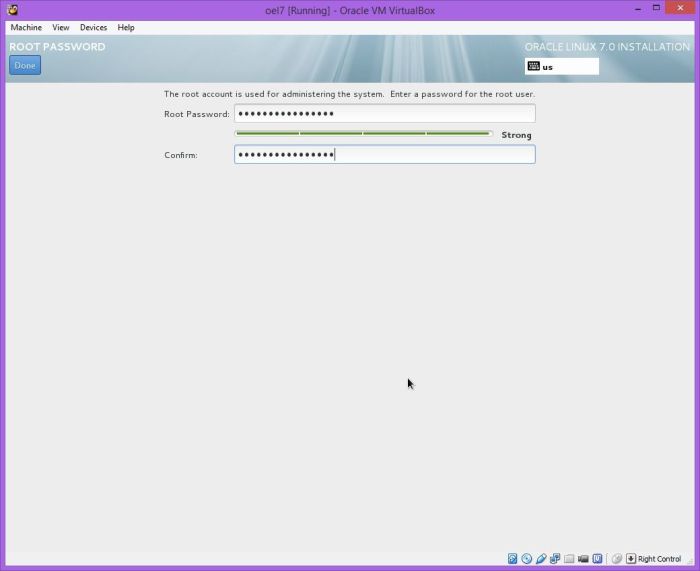
Step 12:- Then the Installation will start. Click “USER CREATION” to add extra user at the OS level. You need to change password for root user during installation. Click on “ROOT PASSWORD”. Set password for user root and press “Done”.
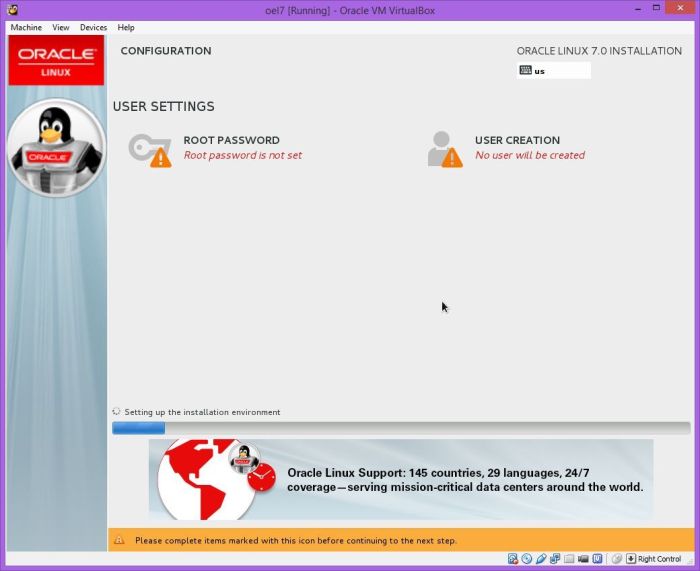

Step 13:- Now you should be back on “CONFIGURATION” screen. When installation is completed just click “Reboot” to restart machine.

Step 14:- After first reboot you should see following screen. Accept “License agreement” then click “FINISH CONFIGURATION” button.


Step 15:- Set Kdump settings then click “Forward” button.

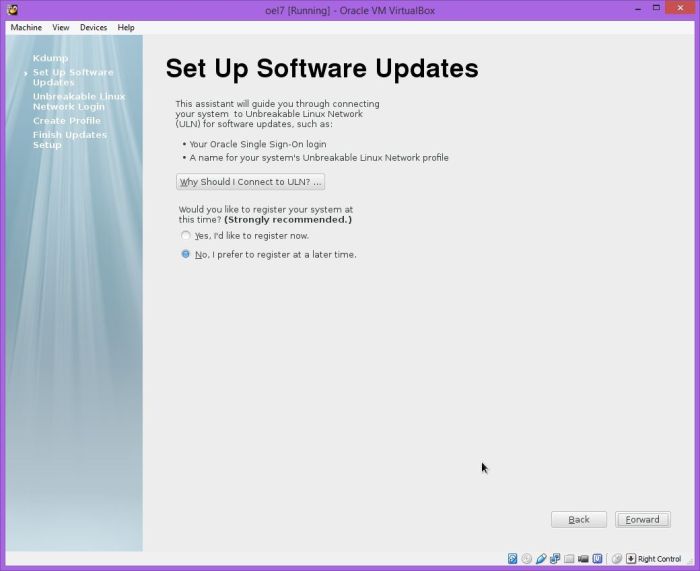
Step 16:- You can register this installation in Oracle to get later support.Click “Forward” button to continue.


Step 17:- Now once you are logged in Choose your language preferences and click “Next” button.

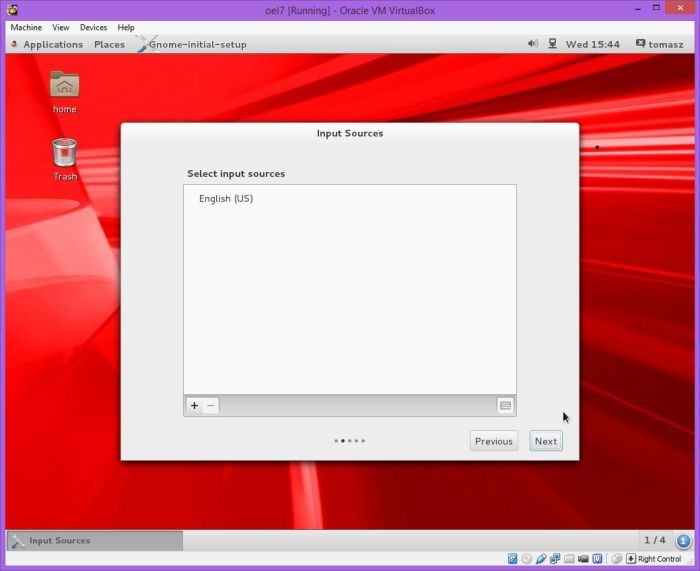
Step 18:- Select your keyboard preferences. You can add here more keyboards if you click “+”. Click “Next” button to continue.
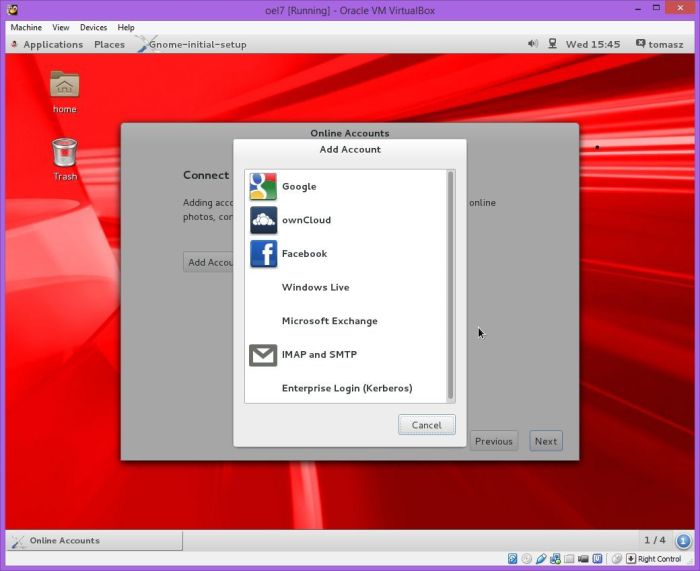
Step 19:- On the screen you can add your cloud accounts by clicking “Add Account” like google, facebook etc. I’m not showing details here how to do it only first screen after clicking “Add Account”. When you are ready click “Next”

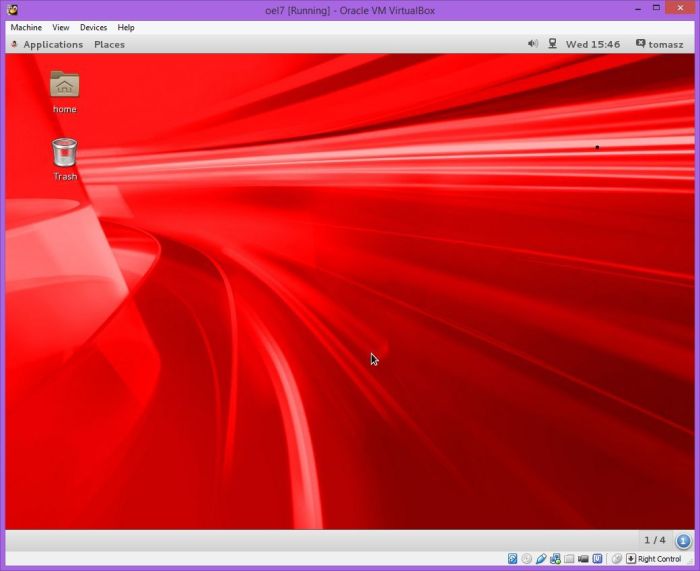
Step 20:- Just click “Start using Oracle Linux Server″ button.

Step 21:- It makes sense to install latest patches just run “Applications->System Tools->Software Update”
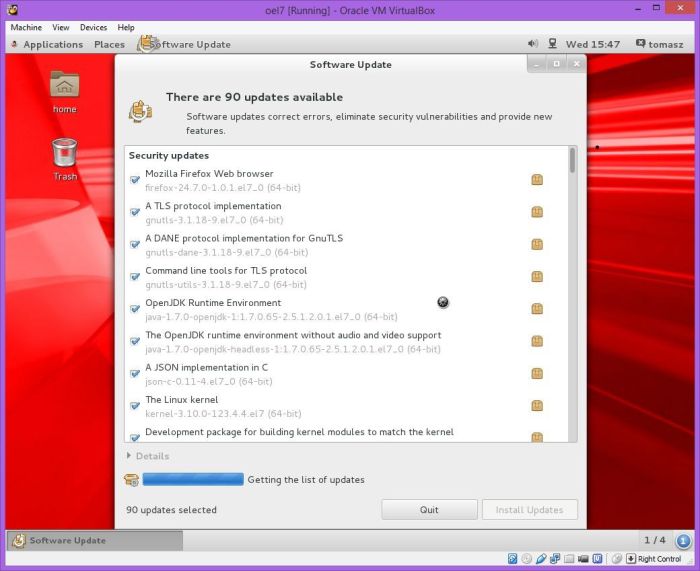
Step 22:- Your OEL7 is ready to use now.


Pingback: Installing 12c RAC on Oracle Linux 7 | Oracle Database Internal Mechanism
Where from download OEL7 ??
please provide link
LikeLike
Pingback: Install SQL Server 2017 on Linux | Oracle Database Internal Mechanism
i am getting below error while installing
“C8:00.0 E200 PC12.10 E2000FATAL: No bootable medium found?” System halted
LikeLike
Step 4: intallation source does not show Local media. It shows a yellow icon
LikeLike