This is a quick post on installing Oracle Linux 6 on VirtualBox. This post was originally intended to create a VM (1st node) of a RAC setup.
You can download the required software from below links:-
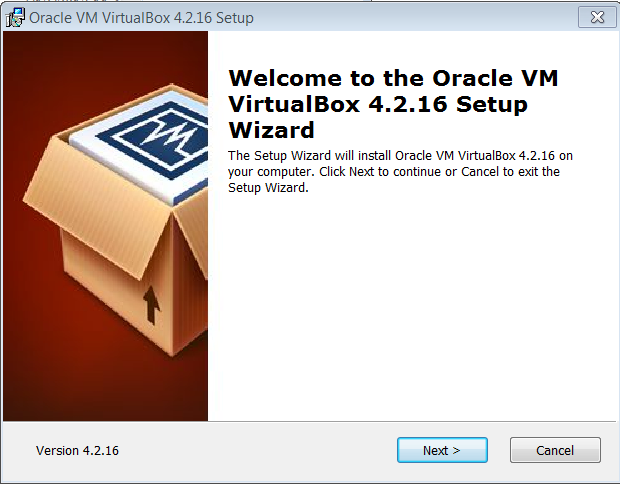
STEP 1 – Oracle VirtualBox Installation.
Run the setup from the downloaded Oracle VirtualBox software, this would present you with setup dialog box as below. Proceed with the setup to perform a clean installation.
STEP 2 – Create Virtual Machine
Once VirtualBox is installed, open the VirtualBox Manager to create a new machine by clicking at New tab, this will open following dialog box.
Enter the desired VM’s Name and Choose the OS as per the software handy with you.

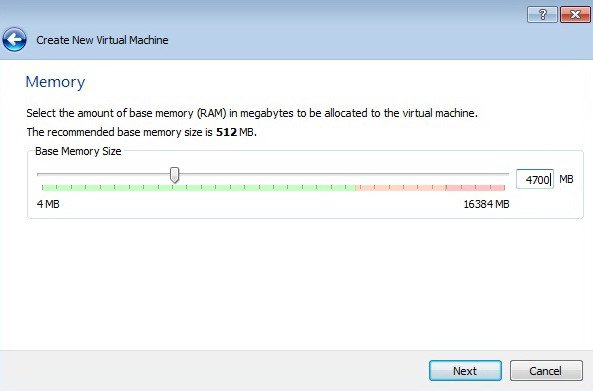
STEP 3 – Memory Settings
Choose appropriate memory setting, as per the available RAM on your host machine.
STEP 4 – Virtual Hard Disk
At this stage choose the default i.e. Create new hard disk.

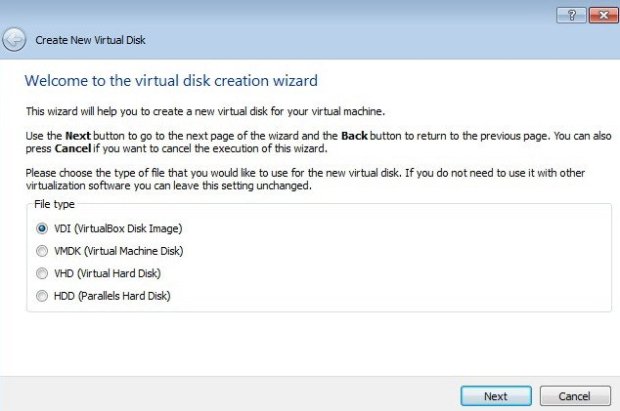
STEP 5 – Choose the File Type for Virtual Disk
Depending on your need choose the File type accordingly, if not sure, choose the default i.e. VDI
STEP 6 – Virtual Disk Storage Details
If this is a test env. choose Dynamically Allocated else for better performance choose Fixed Size.

STEP 7 – Virtual Disk File Location
Choose the appropriate path at the Host machine where you want to create the physical file for Virtual Disk and also specify the Size.

STEP 8 – Create Virtual Disk
Review the information in the Summary and Click on Create tab to create the Virtual Disk with specified configuration.

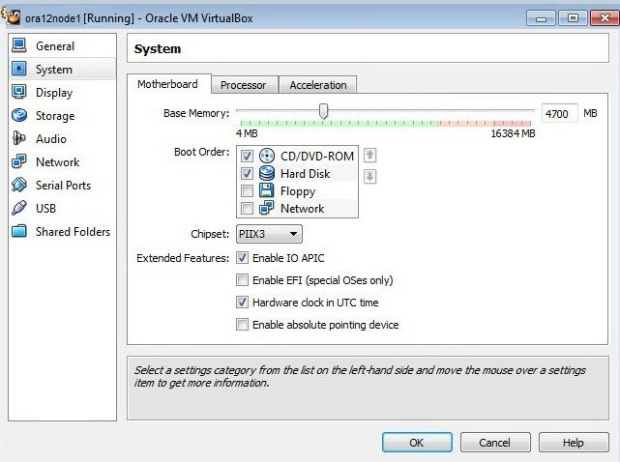
STEP 9 – VM – System Settings
Choose the appropriate system settings (RAM, Processor, etc) as per your requirement
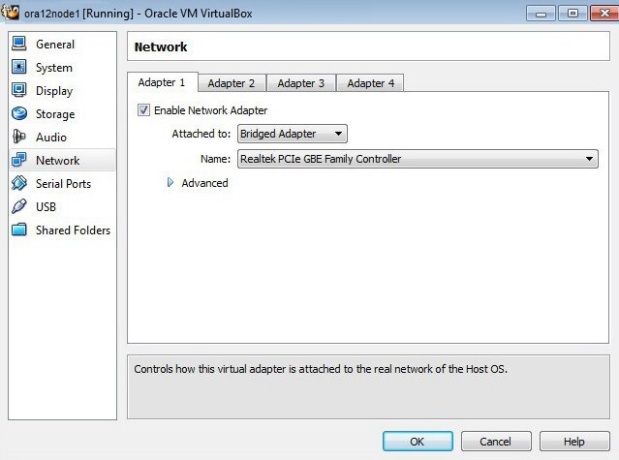
STEP 10 – VM – Network Settings – Adapter 1
Choose the Network Adapter for your env. Since we need 2 Network Adapter for Public and Private Communication, we would enable 2 Network Adapter with Bridged Network Configuration.
STEP 11 – VM – Network Settings – Adapter 2
Choose the network configuration for 2nd Adapter and then close the settings dialog box.

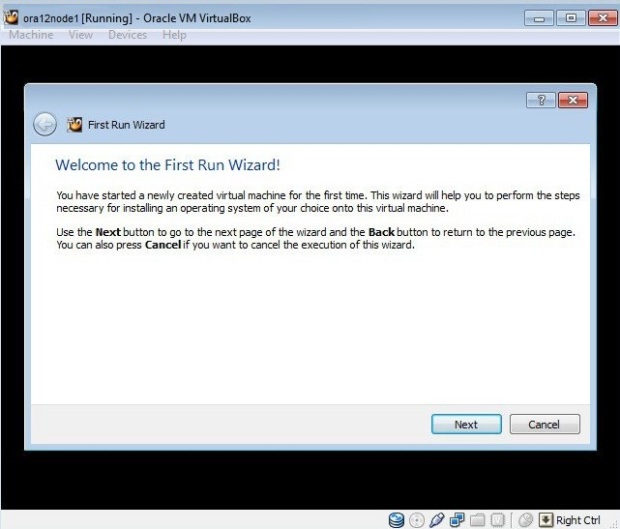
STEP 12 – Start the VM
Right click on the VM and choose Start => Normal Start
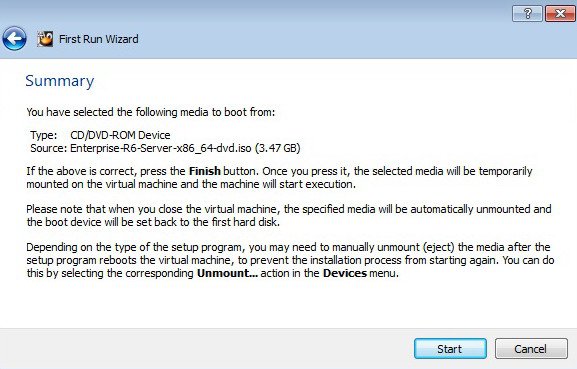
STEP 13 – Installation Media
During Start the VM would prompt for installation media, choose the ISO of the OS you have selected during STEP – 2 and click Next.

STEP 14 – Start the VM
STEP 15 – OS Installation
Once the VM is booted with provided ISO, choose the Install or upgrade an existing system tab and hit Enter.

STEP 16 – OS Installation
Press tab to move focus to the “Skip” key, then press Enter.

STEP 17 – OS Installation
Click Next

STEP 18 – OS Installation
Choose Language and click Next.

STEP 19 – OS Installation
Choose Keyboard setting and click Next.

STEP 20 – OS Installation
Choose the appropriate Storage Option and click Next.

STEP 21 – OS Installation
If this warning is prompted, Choose Yes, discard any data to format the partition.
In case any error regarding initialize is prompted choose Re-initialize all and proceed.

STEP 22 – OS Installation
Enter the desired hostname for this VM.
Here we are choosing ora12node1.
And then Choose the Configure Network tab.

STEP 23 – OS Installation
Choose System eth0 and Click Edit, in the Network Connections tab.

STEP 24 – OS Installation
In Editing System eth0 dialog box, tick on Connect Automatically and Available to all users check boxes.
Then click the IPv4 Settings tab.

STEP 25 – OS Installation
In the IPv4 Settings tab, ensure the Method is Manual (Since we are not using DHCP) and Add the Network Address, Netmask and Gateway accordingly.
Once through press Apply.

STEP 26 – OS Installation
Now proceed similarly for System eth1.

STEP 27 – OS Installation

STEP 28 – OS Installation

STEP 29 – OS Installation
Once through with both the Network Connections close the dialog box and click Next.

STEP 30 – OS Installation
Choose the relevant timezone and click Next.

STEP 31 – OS Installation
Enter the credentials for root user and click Next.

STEP 32 – OS Installation
Choose the appropriate partitioning type, if you want to review and modify the partitioning, tick the checkbox Review and modify partitioning layout.

STEP 33 – OS Installation
Choose Write changes to disk.

STEP 34 – OS Installation
Click on Customize Now tick box and Click Next.
We want to choose following packages for our installation:-
- Base System > Base
- Base System > Compatibility libraries
- Base System > Hardware monitoring utilities
- Base System > Large Systems Performance
- Base System > Network file system client
- Base System > Performance Tools
- Base System > Perl Support
- Servers > Server Platform
- Servers > System administration tools
- Desktops > Desktop
- Desktops > Desktop Platform
- Desktops > Fonts
- Desktops > General Purpose Desktop
- Desktops > Graphical Administration Tools
- Desktops > Input Methods
- Desktops > X Window System
- Applications > Internet Browser
- Development > Additional Development
- Development > Development Tools

STEP 35 – OS Installation (Choose Packages)
Choose the appropriate base packages, in case you need to install additional packages Click on the Optional packages tab.

STEP 36 – OS Installation (Choose Packages)
In the Optional Packages dialog box, Choose the appropriate rpms.

STEP 37 – OS Installation (Choose Packages)

STEP 38 – OS Installation (Choose Packages)

STEP 39 – OS Installation (Choose Packages)
Ensure all the packages mentioned below are chosen.
- Base System > Base
- Base System > Compatibility libraries
- Base System > Hardware monitoring utilities
- Base System > Large Systems Performance
- Base System > Network file system client
- Base System > Performance Tools
- Base System > Perl Support
- Servers > Server Platform
- Servers > System administration tools
- Desktops > Desktop
- Desktops > Desktop Platform
- Desktops > Fonts
- Desktops > General Purpose Desktop
- Desktops > Graphical Administration Tools
- Desktops > Input Methods
- Desktops > X Window System
- Applications > Internet Browser
- Development > Additional Development
- Development > Development Tools

STEP 40 – OS Installation
Wait for the installation to complete. If this asks for reboot please reboot the system.

STEP 41 – OS Installation (Welcome Screen)
Click Forward tab on the Welcome Screen.

STEP 42 – OS Installation (License)
Accept the agreement and click Forward.

STEP 43 – OS Installation (Software Update)
Choose the appropriate option and click forward.

STEP 44 – OS Installation (Security Update)

STEP 45 – OS Installation (Finish Updates Setup)

STEP 46 – OS Installation (Post Installation)
We would create the user afterwards so click Forward.

STEP 47 – OS Installation (Post Installation)
Adjust the Date and Time and Click Forward.

STEP 48 – OS Installation (Post Installation)
Accept the default settings and click Finish.

STEP 49 – OS Installation (Post Installation)
Login with the root creds to login to the machine.

And you have your VM with Linux 6 installed.


Can I ask you to add some more detail? Maybe write any further example? Thanks :)|
LikeLike
Loved reading thiss thanks
LikeLike